
Adding memory is one of the easiest upgrades you can make to a PC, and one of the most satisfying when it fixes stutters and slowdowns. If you’ve never done it, learning how to install RAM takes about ten minutes on a desktop and not much longer on most laptops. The hard part isn’t the installation itself, it’s buying the right memory in the first place.
This guide walks you through checking compatibility, how to install RAM in a desktop step by step, how to install memory in laptop models that allow it, what to do after installing, and how to fix the most common problems.
Quick answer
Check your PC’s memory type (DDR4 or DDR5), form factor (desktop DIMM or laptop SO-DIMM) and free slots first. Then shut down, unplug, open the case, push the slot latches open, line up the notch on the stick with the slot, and press down firmly until it clicks. On laptops, insert the stick at an angle and press it down until the clips lock. Finally, turn on XMP or EXPO in the BIOS and check Task Manager shows the new amount.
In this guide
Before you buy: check compatibility
The most common mistake is buying memory that doesn’t fit. Before you learn how to install RAM, make sure you’ve bought the right kind. Check these first:
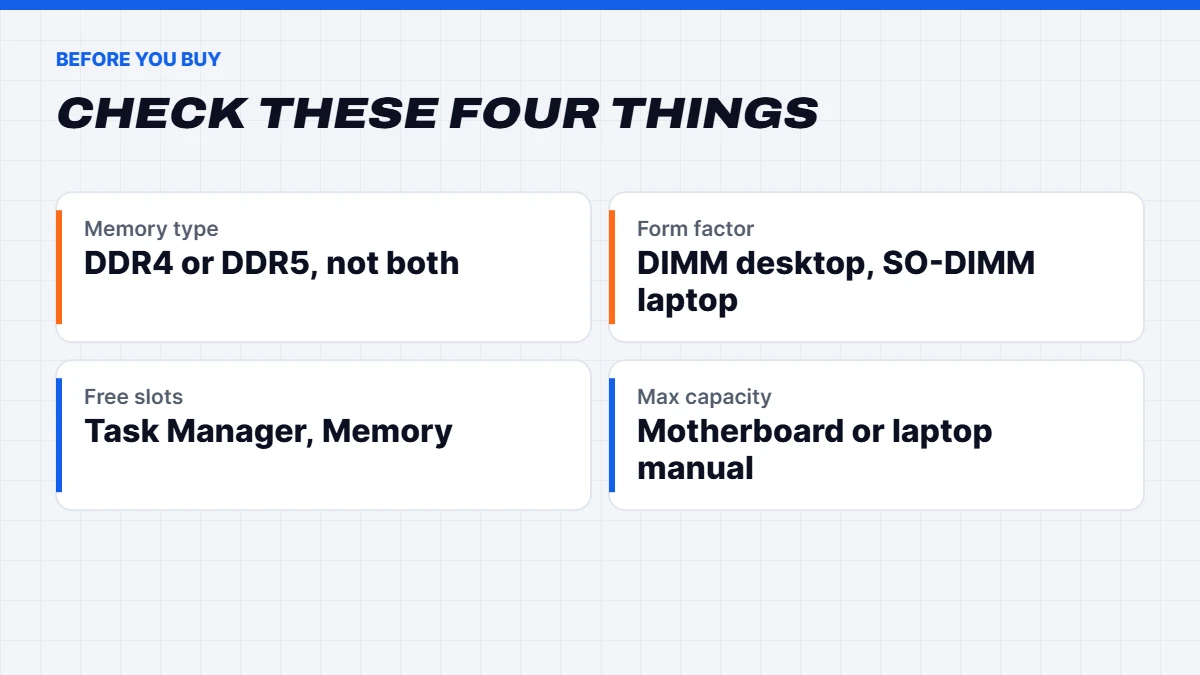
- Memory type. DDR4 and DDR5 aren’t interchangeable. The notch is in a different place, so the wrong type physically won’t fit. Our guide to DDR4 vs DDR5 explains the difference.
- Form factor. Desktops use full-size DIMM sticks. Laptops use smaller SO-DIMM sticks.
- Free slots. Open Task Manager, go to Performance > Memory, and look at Slots used.
- Maximum capacity. Your motherboard or laptop has a limit, listed in its manual or on the maker’s website.
- Soldered memory. Many thin laptops have memory soldered to the board, which can’t be upgraded at all.
Our guide on how to check PC specs shows how to find your motherboard model and current memory in Windows. Both memory types follow standards set by JEDEC, the industry body behind DDR4 and DDR5, so any reputable kit of the right type and form factor should work, though your motherboard’s supported memory list is the safest guide.
Matching kits and dual channel
For the best performance, use two matching sticks so the memory runs in dual channel. Ideally, buy a matched kit, such as 2 x 16GB, rather than adding a different stick to an existing one. Mixing sticks of different speeds, timings or brands often works, but it can cause instability or force everything to run at the slowest stick’s speed.
If you have one stick and want to add a second, try to match the brand, model, size and speed exactly, and be prepared to run it at a slightly lower speed if it isn’t stable.
How to install RAM safely: what you’ll need
- The new memory.
- A Phillips screwdriver for the case side panel, or for a laptop’s bottom panel.
- A plastic pry tool for laptops with clipped bottom panels.
- A clear, hard work surface, not carpet.
- A torch or phone light to see the slot labels.
Touch a bare metal part of the case before handling the memory to discharge static electricity, and hold sticks by their edges rather than the gold contacts.
How to install RAM in a desktop
Here’s how to install RAM in a desktop PC:
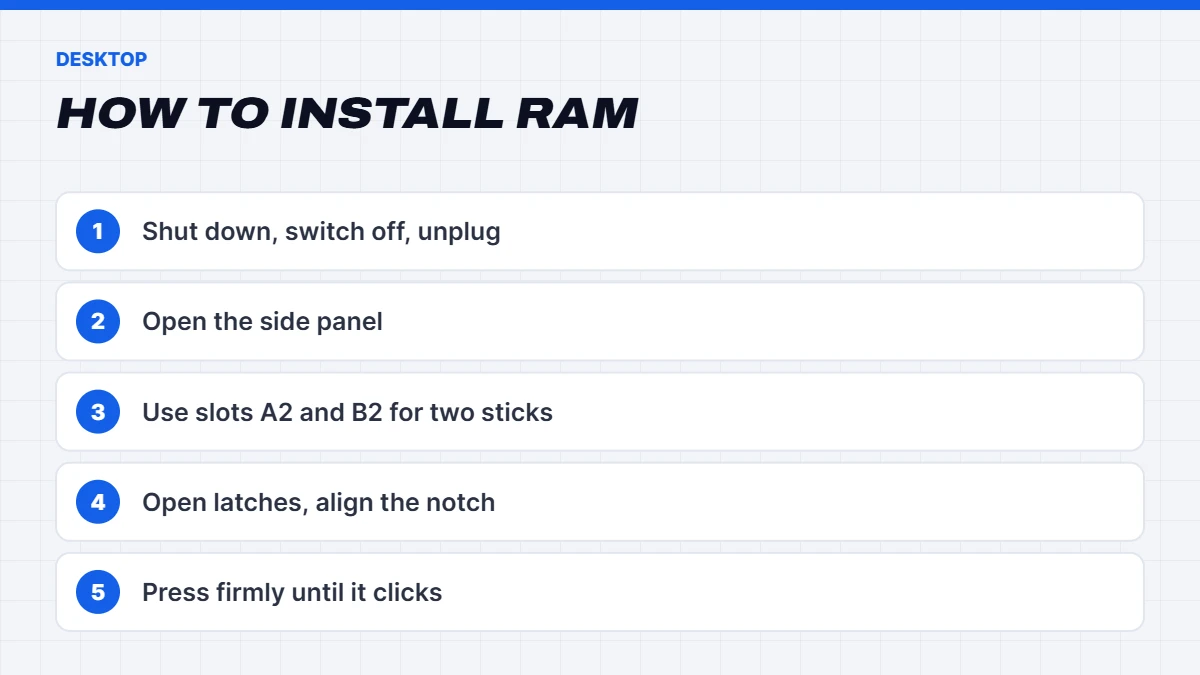
- Shut down Windows and switch off the power supply at the back, then unplug the power cable.
- Press the power button for a few seconds to drain any remaining power.
- Remove the side panel, usually the glass or left-hand panel when facing the front.
- Find the memory slots next to the processor cooler.
- Check the manual for which slots to use. With two sticks on a four-slot board, it’s usually A2 and B2, the second and fourth slots from the processor.
- Push open the latches at one or both ends of each slot.
- Line up the notch on the bottom of the stick with the bump in the slot. It only fits one way.
- Press down firmly with both thumbs at each end until the latches click shut. It takes more force than most people expect.
- Refit the side panel, plug the power back in and switch on.
If your CPU cooler overhangs the first slot, you may need to loosen its fan to fit tall memory.
How to install memory in laptop models
Knowing how to install memory in laptop models is a little different, because laptops use smaller sticks and tighter spaces:
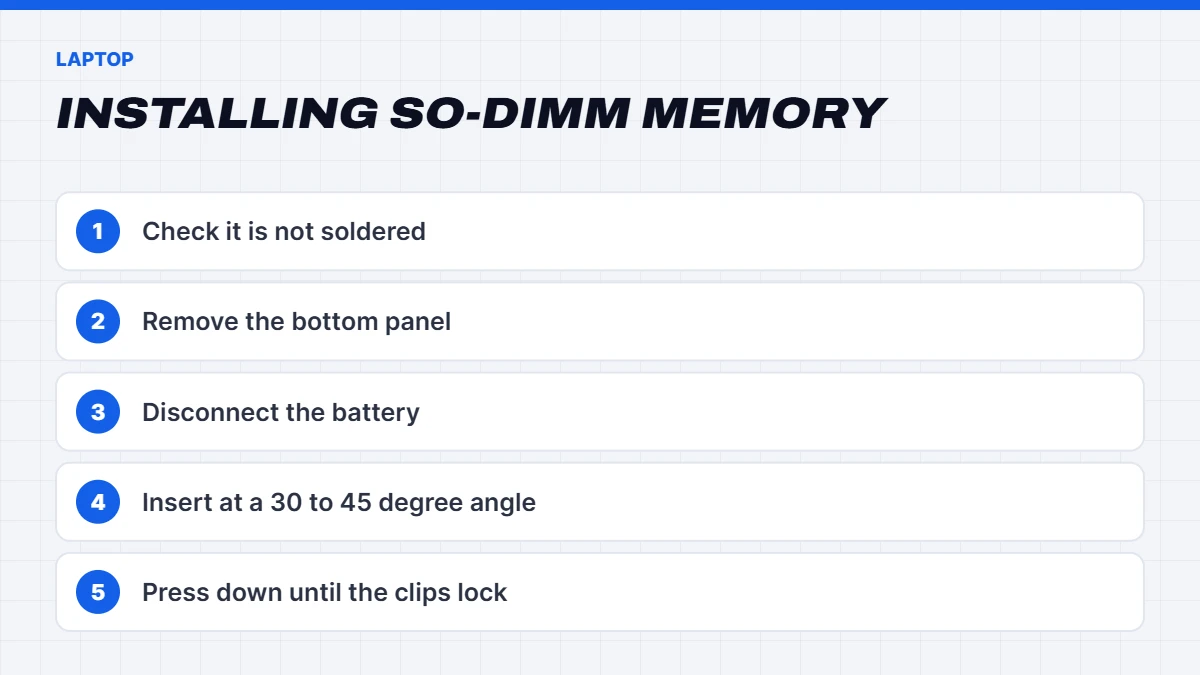
- Check the laptop is upgradeable. Look up the model to see whether it has SO-DIMM slots or soldered memory.
- Shut down completely and unplug the charger.
- Remove the bottom panel screws, keeping them in order, and gently pry the panel off with a plastic tool.
- Disconnect the battery if you can reach the connector easily.
- Find the memory slot. It may be under a small shield or sticker.
- To remove an old stick, gently push the side clips outwards, and the stick will pop up at an angle. Pull it out.
- Insert the new stick at about a 30 to 45 degree angle, with the notch lined up, pushing it firmly into the slot.
- Press it down flat until the side clips snap into place.
- Reconnect the battery, refit the panel and switch on.
Many laptops have model-specific guides online that show exactly where the memory is. If you’re not comfortable opening yours, a technician can do it quickly.
How to install memory in laptop models that are tricky
Some laptops make it harder than others. A few tips for knowing how to install memory in laptop models with awkward layouts:
- Some laptops have one slot on each side of the motherboard, meaning you need to remove more parts to reach the second one. Check a guide for your exact model first.
- Some have one soldered and one removable stick. You can usually add or replace the removable stick, but the total may run in a mixed configuration.
- Gaming laptops often have two easy-access slots, making upgrades simple.
- Thin and light laptops usually have soldered memory, with no upgrade path.
If your laptop has soldered memory, the amount you bought it with is permanent, which is why we always suggest buying at least 16GB in a new laptop.
After installing: first boot and settings
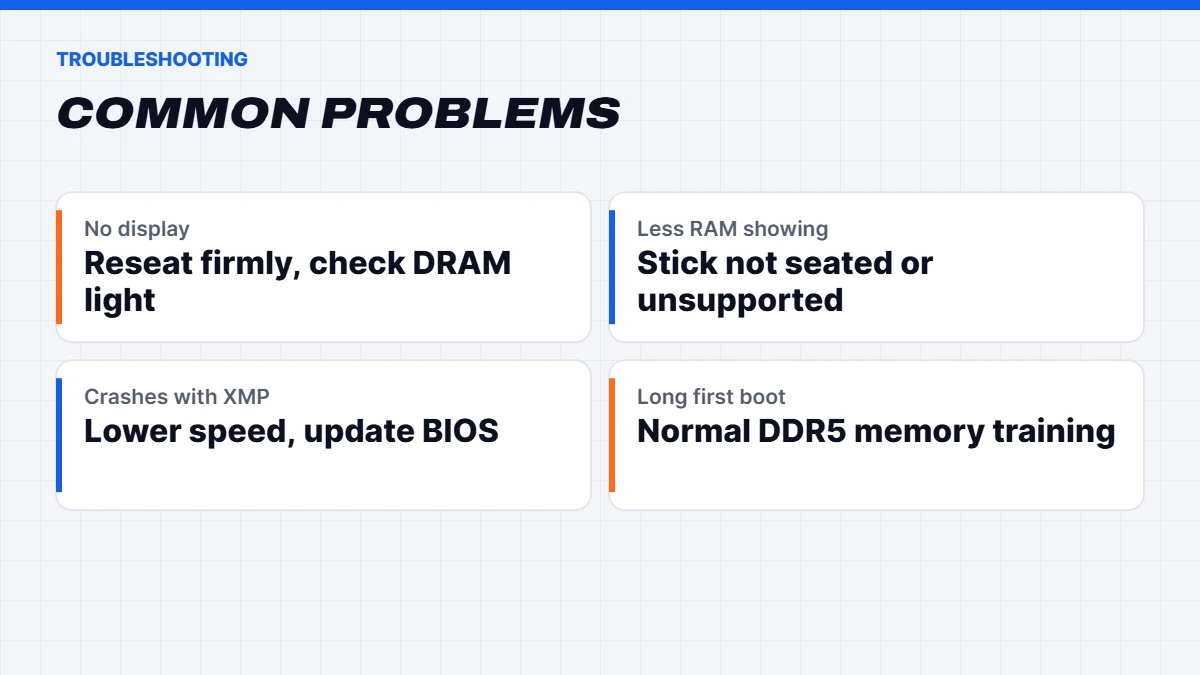
Once you know how to install RAM physically, the settings afterwards are the step people most often forget. The first time you turn on after installing memory, it may take longer than usual to start, sometimes a minute or two with DDR5, as the system trains the new memory. The screen may stay black during this time. Be patient and don’t switch it off.
Once it boots:
- Enter the BIOS by pressing Delete or F2 at start-up.
- Turn on XMP (Intel) or EXPO (AMD) so the memory runs at its rated speed. Without it, memory runs at a slower default speed.
- Save and restart.
- Check Task Manager. Go to Performance > Memory and confirm the total, speed and slots used.
To test the new memory, search the Start menu for Windows Memory Diagnostic and run it. It restarts the PC and checks for errors.
How to install RAM in a prebuilt or small PC
Prebuilt desktops from system builders usually use standard motherboards, so the steps are exactly the same as above. Some big-brand office desktops use compact cases where the memory sits under a drive cage or the power supply, so you may need to remove a part or two to reach it. Mini PCs often use laptop-style SO-DIMM memory, installed the same way as in a laptop.
Whatever the case, the same rules apply: check compatibility, use matched sticks, press firmly until they click, and turn on XMP or EXPO afterwards.
How to install RAM: common mistakes
- Not pressing hard enough. Desktop RAM needs firm, even pressure until both latches click.
- Using the wrong slots. Two sticks in the first and second slots may run in single channel. Check the manual.
- Forgetting XMP or EXPO, leaving memory running well below its rated speed.
- Mixing kits and expecting full speed.
- Buying the wrong type, such as DDR5 for a DDR4 board, or desktop memory for a laptop.
- Panicking at a long first boot. DDR5 memory training can take a minute or two.
Troubleshooting
The PC won’t turn on or shows no display. Turn it off, unplug it and reseat the memory, pressing firmly until the latches click. Many motherboards have small debug lights near the memory: a lit DRAM light points to a memory problem.
Windows shows less memory than installed. One stick may not be seated properly, or the motherboard may not support that capacity. Reseat it and check the manual.
Crashes or blue screens after enabling XMP or EXPO. Your sticks may not be stable at that speed, especially if they’re mixed. Try a lower speed, or update the BIOS, which often improves memory compatibility.
Only one stick works. Test each stick on its own in the recommended slot to find out whether it’s the stick or the slot.
How to install RAM for the best gaming performance
If you’re upgrading for gaming, a few details help you get the most from your new memory:
- Two sticks beat four on DDR5. Many DDR5 platforms run four sticks at lower speeds than two. For 32GB, 2 x 16GB is better than 4 x 8GB. For 64GB, choose 2 x 32GB.
- Turn on XMP or EXPO. It’s the difference between running at the default speed and the speed you paid for.
- DDR5-6000 is the sweet spot for AMD Ryzen. Faster kits often cost more for little gain in games.
- Keep the BIOS updated, as updates often improve memory compatibility and stability.
Getting these right matters as much as knowing how to install RAM in the slots correctly.
Upgrading RAM and your warranty
Adding memory to a desktop usually doesn’t affect your warranty, but check your warranty terms first, and keep the original sticks in case you need to return the PC to its original configuration for a repair. On laptops, some manufacturers have specific rules about opening the case, so it’s worth reading the terms before you start. Australian Consumer Law protections still apply to the parts you bought.
How much RAM should you add?
For most people in 2026, 16GB is the minimum for comfortable everyday use, and 32GB is the sweet spot for gaming and multitasking. Creators working with 4K video, 3D or local AI tools may want 64GB or more. Our guide to what RAM is and how much you need explains it in more detail, and with prices high at the moment, our article on why RAM is so expensive is worth reading before you buy.
Is it worth upgrading RAM?
It’s worth it if Task Manager regularly shows memory usage above 80 to 90%, if games stutter when you have other apps open, or if you only have 8GB. It’s not worth it if your PC is slow for other reasons, like an old hard drive or an outdated processor. In those cases, an SSD upgrade or a new PC may help more.
If you’re considering a new PC instead, our gaming and workstation PC ranges come with memory already installed in matched pairs and running at its rated speed, such as our 64GB RAM PC for gaming, streaming and editing.
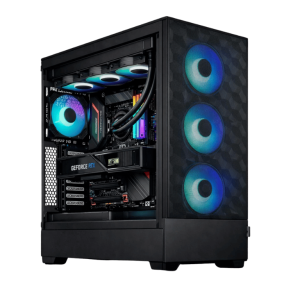 Vision Apex X – 64GB RAM PC, RTX 5080 & Ryzen 7 7800X3D Original price was: $6,699.00.$5,024.00Current price is: $5,024.00.See the build
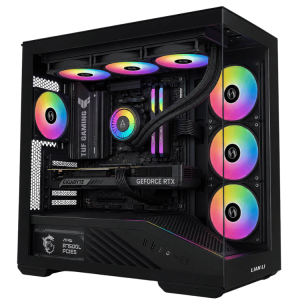 Vision Vector – 7800X3D PC with RTX 5070, 32GB DDR5 Original price was: $4,399.00.$3,299.00Current price is: $3,299.00.See the build
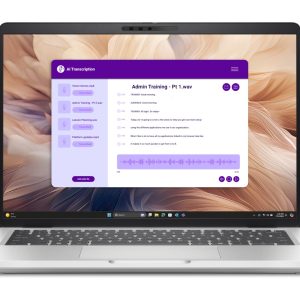 Dell Pro 14 Plus – 14-inch Business Laptop, Core Ultra 5, 16GB RAM, Windows 11 Pro Original price was: $2,299.00.$1,699.00Current price is: $1,699.00.See the build
Not sure which memory your PC takes? Message us on live chat with your motherboard or laptop model, and we’ll help you find the right kit.
Upgrade RAM or buy a new PC?
A RAM upgrade makes sense when the rest of your PC is still capable: a modern processor, an SSD and a decent graphics card. If your PC is also held back by an old hard drive, an outdated processor or a lack of Windows 11 support, spending on memory may not fix the bigger problem. In those cases, compare the upgrade cost with a new machine that already has 32GB installed and tuned.
The short version
Learning how to install RAM is mostly about preparation: check the memory type, form factor, free slots and maximum capacity, then buy a matched kit. On a desktop, open the latches, line up the notch and press firmly until it clicks. If you’re working out how to install memory in laptop models, check it isn’t soldered, then insert the stick at an angle and press it down until the clips lock. Finish by turning on XMP or EXPO and checking Task Manager.
RAM installation FAQs
How long does it take to install RAM?
About ten minutes on a desktop and fifteen to twenty on most laptops, once you know how to install RAM safely. The first boot may take a little longer while the system trains the new memory.
How to install memory in laptop models with soldered RAM?
You can’t. Soldered memory is permanently attached to the motherboard. If your laptop has a single free slot alongside soldered memory, you can add a stick there.
How do I know which RAM slots to use?
Check your motherboard manual. With two sticks on a four-slot board, it’s usually the second and fourth slots from the processor, often labelled A2 and B2.
Can I install RAM myself?
Yes. On desktops it’s one of the easiest upgrades. On laptops it’s usually straightforward if the memory isn’t soldered.
Can I mix different RAM sticks?
It often works, but it can cause instability or run at the slowest stick’s speed. Matched kits are best.
Do I need to do anything after installing RAM?
Turn on XMP or EXPO in the BIOS and check Task Manager shows the right amount and speed.
Why won’t my PC boot after installing RAM?
Usually the stick isn’t fully seated. Reseat it firmly until the latches click, and give DDR5 systems a few minutes for memory training on the first boot.